

 Animal Zoid Editorial Team
 Cleaning the lint trap screen after every load feels responsible. But if you share your home with a shedding dog, that habit alone isn’t protecting your dryer — or your home. How to clean dog hair out of lint trap housing is the maintenance step most pet owners skip entirely, not because they’re careless but because nobody tells them it’s necessary. The screen catches surface lint. The housing — the slot the screen slides into — catches everything the screen misses. And dog hair, specifically, doesn’t behave like regular lint inside that slot. It compacts, it fuses to the walls, and over months it creates a dense blockage that standard cleaning never touches.
This guide walks through exactly why dog hair creates a unique housing problem, which tools remove it safely, the precise cleaning sequence that works from the slot opening to its base, and the maintenance rhythm that keeps the housing clear between deep cleans. We’re also covering the fire risk piece directly — because that’s the part most appliance guides bury in footnotes.
⚡ Quick Answer
How to clean dog hair out of lint trap housing:
Unplug the dryer first. Remove the lint trap screen. Insert a long flexible lint brush into the housing slot and scrub all four interior walls in short strokes to loosen compacted dog hair. Pull loosened material out by hand, then run a vacuum crevice tool through the full slot depth. Finish with a dry microfiber cloth wrapped around a flat tool for the final pass. Do this every four to six weeks if you regularly wash pet bedding.
Before diving in — if excessive dog hair reaching your dryer is the root problem, the solution starts earlier in the laundry process. Our guide on how to get dog hair out of fleece blankets in washing machine covers the pre-wash protocol that dramatically cuts how much hair enters the dryer in the first place. For shedding management at the source, our breed-specific guides for Huskies, German Shepherds, Golden Retrievers, Labradors, and Corgis address the problem before it reaches your laundry room. Our complete dog shedding management guide ties everything together.
How to Clean Dog Hair Out of Lint Trap Housing — The Problem Nobody Warns You About
Why Dog Hair Behaves Differently Inside the Lint Trap Housing
The reason how to clean dog hair out of lint trap housing matters more in pet households than any appliance manual explains comes down to one physical difference between dog hair and standard fabric lint — and understanding it changes how you approach the whole problem.
Standard lint is short, uniform, and structurally simple. It collects efficiently on the lint trap screen and peels off cleanly. The small amount that bypasses the screen into the housing slot sits loosely and comes out during routine cleaning without much effort.
Dog hair is different in every relevant way. Undercoat fibers — the type most shedding breeds produce in volume — are fine, tapered, and naturally crimped. That crimp means each individual hair has a slight wave or curl rather than lying straight. In a dryer environment with heat and continuous tumbling, those crimped fibers interlock with each other and physically anchor to the housing walls, forming a compacted mass that feels like craft felt when you pull it out. It doesn’t dislodge when you remove the lint trap screen. It stays in the housing and compacts further with each subsequent load.
Here’s the safety reality that deserves direct attention. The U.S. Fire Administration reports approximately 2,900 home dryer fires annually — with failure to clean dryers listed as the leading cause. Dog hair compacted in the lint trap housing creates a denser, more insulating blockage than standard lint because of its felt-like structure. That blockage forces the dryer to work harder, run hotter, and run longer. Thermal limiters and safety components not designed for sustained high-temperature operation experience progressive stress. The fire risk isn’t theoretical — it’s documented, and it’s proportional to how long the housing goes uncleaned in a pet household.
Knowing this is what makes how to clean dog hair out of lint trap housing a safety habit rather than optional maintenance.
How to Clean Dog Hair Out of Lint Trap Housing — Getting the Right Tools Together
The Three Tools That Do the Actual Work
Most people who attempt to clean dog hair out of lint trap housing without the right tools end up either pushing hair deeper into the slot or cleaning only the first few inches near the opening — which leaves the compacted material at the slot base completely untouched. These are the three tools that cover all three stages of the process.
A long flexible lint brush — 20 to 24 inches.
This is the tool that does the primary work. A purpose-built dryer lint trap brush with a flexible shaft reaches the full depth of the housing slot and agitates compacted dog hair loose from all four interior walls. The flexibility of the shaft matters because many housing slots angle slightly toward their base — a rigid tool can’t follow that angle. The bristle tip should be soft enough to clean without scratching the slot walls. Standard bottle brushes are too short and too stiff. Dryer vent brushes are typically too wide for the lint trap slot opening. A dedicated lint trap brush in the correct diameter for your specific dryer model is the right purchase.
A vacuum with a crevice attachment.
After the brush loosens compacted material from the walls, a vacuum crevice tool extracts it from the slot. The narrow profile of a standard crevice attachment fits most lint trap housing slots well enough to generate effective suction along the walls. For households with heavy-shedding breeds — Huskies, Samoyeds, German Shepherds — a full-size vacuum with strong motor suction outperforms a handheld unit for this step.
A dry microfiber cloth wrapped around a flat tool.
The finish pass. After the brush and vacuum stages, fine hair residue often remains on the housing walls — too small for the vacuum to grip but visible on inspection. Wrapping a dry microfiber cloth around a flat tool like a thin plastic ruler and running it along the interior walls collects this residue through the cloth’s natural fiber attraction. This takes under 90 seconds and consistently picks up what the vacuum leaves behind.
One tool to avoid entirely: compressed air. It drives hair deeper into the housing and into the dryer’s internal ductwork — moving the blockage to a location that’s significantly harder to access. Always clean the housing dry. Wet tools cause dog hair to compact even more densely against the walls.
How to Clean Dog Hair Out of Lint Trap Housing — The Full Eight-Step Process
From First Entry to Confirmed Clear — the Complete Sequence
This is the complete process we recommend for cleaning dog hair out of lint trap housing thoroughly — not just the visible upper section but down to the base where compacted material has the longest accumulation history.
Step 1 — Unplug the dryer.
Before any tool enters the dryer, unplug it from the power source. This is the only step that protects against accidental starts during cleaning. It takes five seconds and makes every subsequent step safe.
Step 2 — Remove and separately clean the lint trap screen.
Pull the screen out and wash it under warm running water with a soft brush to remove any fabric softener film or embedded hair residue. A coated screen reduces suction efficiency even when it looks clean to the naked eye. Set it somewhere clean to air dry completely — reinsert only when fully dry.
Step 3 — First flexible brush pass — top section.
Insert the brush into the housing slot and work the upper third of the slot first. Use short, scrubbing strokes rather than long sweeping pulls — short strokes agitate material off the walls rather than pushing it further down the slot. Clear the loosened material from this section by hand before proceeding deeper.
Step 4 — Full depth brush pass — all four walls.
Work the brush to the full depth of the slot, scrubbing all four interior walls in short strokes. The resistance you feel during this pass is compacted dog hair releasing from the walls. Work through it rather than stopping — the brush moves more freely once the compacted material breaks apart. The lower third of the slot typically holds the densest accumulation because heat and airflow deposit fine material progressively downward during drying cycles.
Step 5 — Hand removal of surfaced material.
Reach into the upper slot and pull out loosened hair clumps that have risen toward the opening. This step usually produces the most visible result of the entire process — particularly in households where the housing hasn’t been cleaned in several months. Dispose of it directly rather than setting it near the dryer.
Step 6 — Full depth vacuum crevice pass.
Insert the crevice attachment to the full slot depth and run it along all four walls in slow, overlapping passes. For slots where the crevice tool fits loosely — leaving gaps around the tool perimeter that reduce suction efficiency — wrap the tip lightly with a single layer of paper towel to narrow the contact area and improve suction along the walls.
Step 7 — Microfiber finish pass.
Wrap the dry microfiber cloth around your flat tool and run it along the interior walls one final time. This collects fine hair residue that survives the brush and vacuum stages.
Step 8 — Flashlight inspection and reinsert.
Shine a phone flashlight into the housing slot from the opening. Interior walls should look visibly clean — no accumulated material visible on surfaces or at the slot base. If significant material remains, repeat steps 4 through 7 before finishing. When the inspection confirms clear, reinsert the fully dry lint trap screen and replug the dryer. Run a 10-minute test cycle to confirm normal airflow — drying efficiency improves immediately after a thorough housing clean when significant material was removed.
Anna’s Dryer — Eighteen Months of Malamute Hair in One Housing
Anna owns two Alaskan Malamutes — one of the heaviest-shedding double-coated breeds in existence. Malamute undercoat is dense, fine, and produces extraordinary volume during seasonal coat blows. Anna washed her dogs’ bedding weekly and cleaned the lint trap screen after every load. What she never did was clean the housing.
After eighteen months, her dryer was taking nearly 80 minutes to dry a standard load that had previously taken 45. She’d assumed the heating element was failing and was preparing to call a technician.
When our team walked her through the flashlight inspection, her reaction on looking into the slot for the first time: “It looks like the inside of a wool blanket. I can’t even see the walls.”
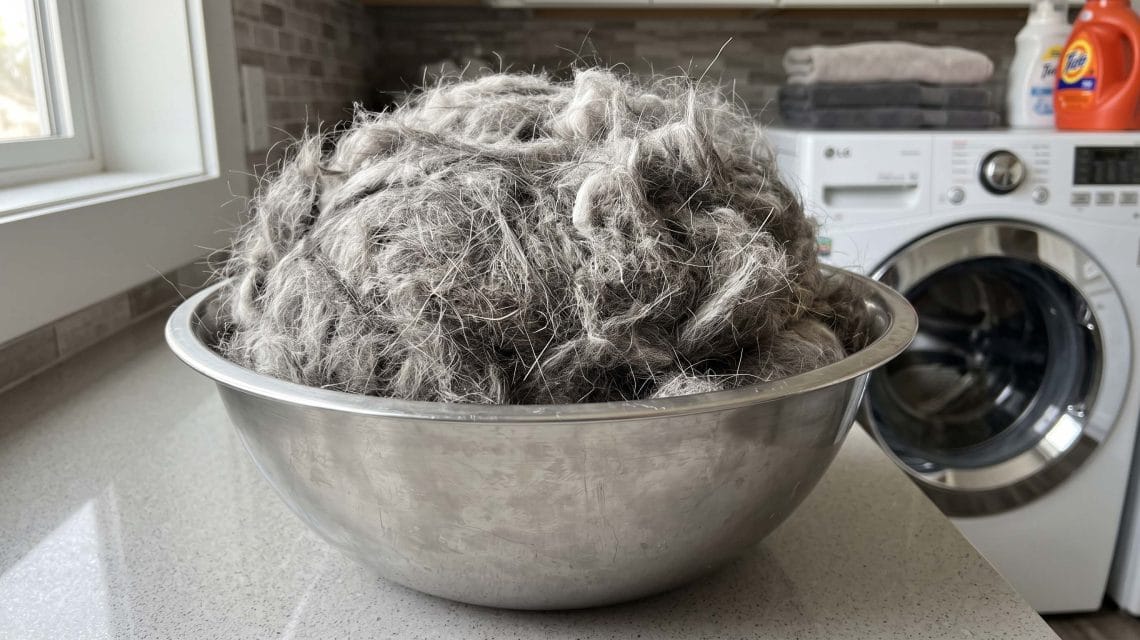
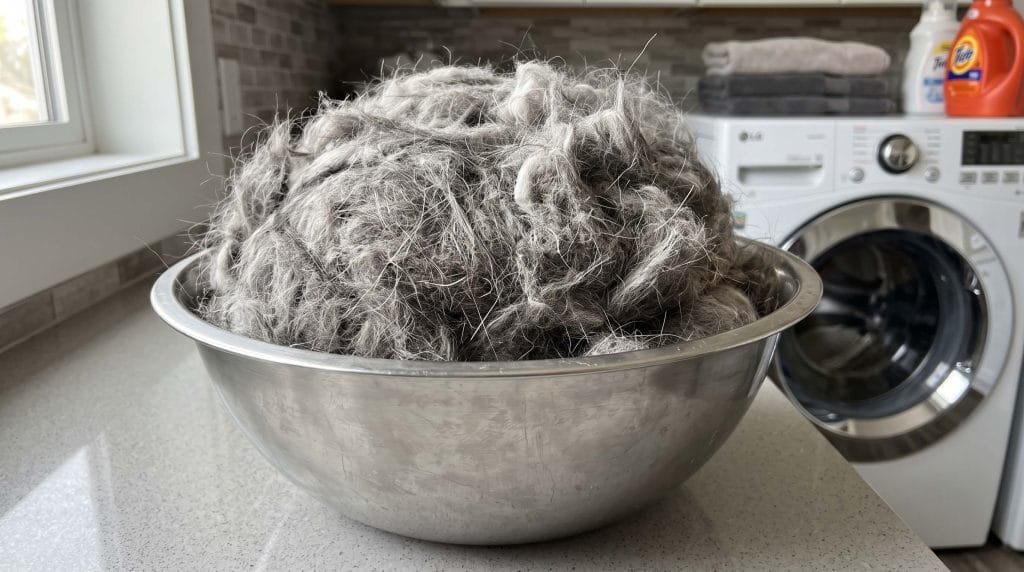
She followed the eight-step cleaning process above. The material removed from the housing — compacted Malamute undercoat from eighteen months of weekly pet bedding loads — filled a large mixing bowl when loosely collected. After cleaning, her dryer returned to its normal 45-minute cycle on the first test load.
Anna now schedules housing cleaning every three weeks during Malamute coat blow seasons. She also implemented the pre-wash protocol from our how to get dog hair out of fleece blankets in washing machine guide, which cut the volume of hair reaching the dryer by roughly half — reducing housing accumulation rate significantly between cleaning sessions.
The appliance technician she’d planned to call? Never needed.
🐾 The Temperature Test — What Your Dryer’s Exhaust Is Telling You
Here’s a diagnostic approach that professional appliance technicians use — and that we haven’t seen documented in any standard pet care or dryer maintenance guide aimed at home users.
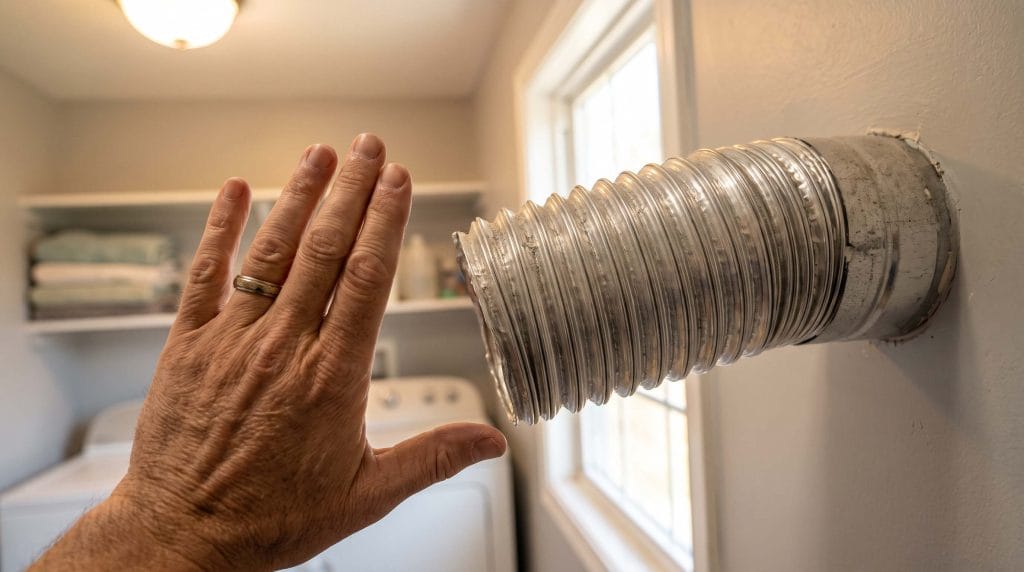
Hold your hand about six inches from the dryer’s exterior exhaust vent opening while the dryer runs on a normal cycle with a standard load. The exhaust airflow should feel noticeably warm and consistent — a steady stream of warm air that you can feel clearly at that distance.
If the airflow feels weak, intermittent, or barely detectable at six inches, your dryer’s exhaust path has significant restriction somewhere. In pet households, the lint trap housing is the most common location — but the dryer duct running from the machine to the exterior wall is the second most common. Both restrict the same airflow path.
If the airflow feels strong but the dryer is still taking longer than normal, the restriction is more likely in the housing slot than the exterior duct — because housing restriction reduces the volume of air available to carry moisture out of the drum, while duct restriction reduces exit velocity. These produce slightly different symptom patterns.
Do the temperature test before and after cleaning dog hair out of lint trap housing. The improvement in exhaust airflow strength after a thorough housing clean gives you a direct, physical confirmation of how much restriction existed before — and whether the housing was the primary issue or whether the exterior duct also needs attention.
This test takes 30 seconds and gives you diagnostic information that most appliance service calls would charge you for.
Cleaning Frequency — How to Clean Dog Hair Out of Lint Trap Housing on the Right Schedule
How often you need to clean dog hair out of lint trap housing depends directly on two factors: your dog’s coat type and how frequently you wash pet bedding. This table gives you the recommended interval based on both.
| Dog Coat Type | Breed Examples | Pet Bedding Wash Frequency | Recommended Housing Clean Interval |
|---|---|---|---|
| Heavy double coat — seasonal blow | Husky, Malamute, Samoyed, Spitz | Weekly | Every 3 weeks during coat blow / Every 5 weeks otherwise |
| Heavy double coat — year-round | German Shepherd, Golden Retriever | Weekly | Every 4–5 weeks |
| Medium double coat | Corgi, Border Collie, Lab | Every 1–2 weeks | Every 6–7 weeks |
| Light single coat | Beagle, Boxer, Vizsla | Every 2 weeks | Every 8–10 weeks |
| Minimal shed | Poodle, Maltese, Shih Tzu | Monthly | Every 3–4 months |
| No pets — standard household | N/A | Standard | Every 6 months |
If you’ve never cleaned the housing before — regardless of your dog’s coat type — clean it immediately and establish your schedule from that clean baseline. The intervals above assume the housing starts from a fully clean state.
Lint Trap Housing — Complete Maintenance Reference for Pet Owners
After every pet bedding load:
- Clean lint trap screen — remove all surface material
- 30-second flashlight inspection of housing slot interior walls
- Quick brush and vacuum pass if visible hair accumulation on walls
- Confirm screen is clean and dry before reinserting
Every 3–6 weeks depending on breed shedding level:
- Unplug dryer before starting — non-negotiable
- Remove lint trap screen — wash with warm water, set aside to air dry
- Full eight-step cleaning sequence — brush, hand removal, vacuum, microfiber finish
- Flashlight inspection — confirm walls are clear before reinserting screen
- Reinsert fully dry screen — replug dryer
- 10-minute test cycle — confirm normal airflow and drying efficiency
- Exhaust vent temperature test — confirm strong consistent airflow at exterior
Every 12 months:
- Professional dryer vent cleaning — full duct from dryer to exterior
- Check exterior vent cap — confirm flap opens freely with no blockage
- Inspect dryer drum door seal for wear — worn seals increase housing hair entry
- Appliance technician inspection if drying times have increased without clear housing cause
FAQ — How to Clean Dog Hair Out of Lint Trap Housing
How do I know if my lint trap housing has dog hair buildup?
The clearest sign is drying time gradually increasing — loads that used to take 45 minutes now taking 60–75 minutes or more. Other signs include the dryer’s exterior feeling hotter than usual during operation, the lint trap screen showing less material than expected after pet bedding loads (hair is bypassing the screen into the housing), and a flashlight inspection showing visible material on the interior housing walls. The exhaust temperature test described above also gives you a direct airflow assessment.
How is cleaning the lint trap housing different from cleaning the dryer vent?
These are separate but connected components. The lint trap housing is the internal slot where the screen sits — directly accessible from the dryer’s exterior panel. The dryer vent is the duct running from the dryer’s exhaust port through the wall to the exterior. Dog hair builds up in the housing faster than in the vent because it deposits with every load. Both need regular cleaning, but the housing requires more frequent attention in pet households. Cleaning the vent without cleaning the housing leaves the primary restriction point untouched.
Can I use a regular bottle brush to clean dog hair out of lint trap housing?
Standard bottle brushes are typically too short to reach the lower third of the housing slot — where compacted material accumulates most heavily — and too rigid to navigate the slight angle that many housing slots have toward their base. A purpose-built lint trap brush with a 20–24 inch flexible shaft reaches the full slot depth and angles correctly. Using the wrong tool cleans only the visible upper portion and leaves the most problematic accumulation untouched.
Does dog hair in the lint trap housing actually cause fires?
Yes — this is a documented appliance fire risk. Compacted dog hair in the housing restricts airflow, which forces the dryer to run hotter and longer to achieve the same drying result. Sustained high-temperature operation under restricted airflow stresses thermal safety components and creates conditions for ignition of accumulated material. The U.S. Fire Administration identifies failure to clean dryers as the leading cause of dryer fires. In pet households where housing accumulation happens faster and denser than in non-pet households, the cleaning frequency needs to be proportionally higher.
Should I clean the lint trap housing before or after washing pet bedding?
Clean the housing before the pet bedding load when you’re on your scheduled deep clean cycle — so the housing starts the load clear and you can accurately assess new accumulation afterward. The 30-second flashlight check happens after each pet bedding load, so you catch any buildup that accumulated during that specific wash cycle while it’s still fresh and easy to remove. Early removal — before hair compacts under heat from subsequent loads — makes each cleaning session significantly faster and easier.
The Honest Bottom Line on How to Clean Dog Hair Out of Lint Trap Housing
Every pet owner knows to clean the lint trap screen. Almost none know that how to clean dog hair out of lint trap housing is a separate, more important task — one that the screen never communicates is necessary because it looks fine right up until the dryer stops working efficiently or worse.
Dog hair doesn’t behave like lint. It compacts, fuses, and builds a felt-like mass that blocks airflow progressively over months. The housing is where that mass lives. The screen is just the visible face of a much deeper slot.
Anna’s dryer is running normally. The bowl of Malamute undercoat she removed from the slot is sitting on a shelf in her laundry room as a reminder. Her dryer technician call was cancelled. Her Malamutes still sleep on the same weekly-washed bedding.
The eight-step process takes 15 minutes. The flashlight check takes 30 seconds. The exhaust temperature test takes 30 seconds. That’s 16 minutes of maintenance that replaces an appliance service call and a fire risk.
Start with the source — reduce how much hair reaches your dryer in the first place. Our how to get dog hair out of fleece blankets in washing machine guide gives you the pre-wash protocol that cuts dryer hair volume dramatically. Then explore our breed shedding guides for Huskies, German Shepherds, Golden Retrievers, Labradors, and Corgis — and our complete dog hair management guide for the full year-round strategy. 🐾
This article reflects our team’s research and hands-on experience across multiple dryer models and shedding breeds. For dryer concerns beyond routine maintenance — burning smells, unusual noises, or persistent efficiency issues after thorough cleaning — contact a qualified appliance technician.
