

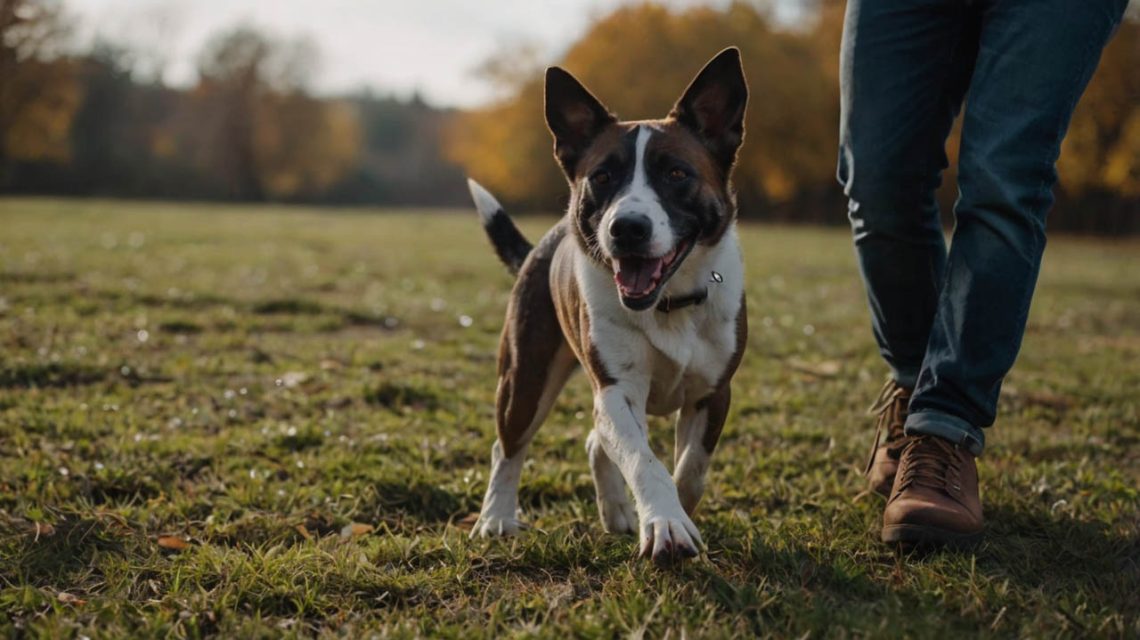
How to Teach a Dog to Shake a Paw: A Fun, Step-by-Step Guide
There are few interactions as charming as a well-mannered dog politely offering their paw for a handshake. It’s a classic trick that never fails to bring a smile. More than just a crowd-pleaser, however, it’s a fantastic bonding activity and a brilliant way to engage your dog’s mind. If you’ve ever wondered how to teach a dog to shake a paw, you’ll be delighted to discover that it’s one of the easiest and most rewarding skills you can train. Consequently, with a little patience and a lot of praise, you can master this trick in just a few short sessions.
This comprehensive guide will provide a complete storyline for teaching this beloved command. We will walk you through a simple, positive reinforcement method, breaking the process down into clear, achievable steps. Therefore, you can build your dog’s confidence and strengthen your partnership, all while having a great time.
Why You Should Know How to Teach a Dog to Shake a Paw
Before we jump into the training steps, it’s important to understand the significant benefits of trick training. This is about so much more than just a cute gesture.
It Builds Confidence and Provides Mental Stimulation
First and foremost, learning a new skill is a powerful confidence booster for any dog, especially one that may be shy or anxious. Furthermore, a 5-minute training session provides crucial mental stimulation that can be just as tiring as a long walk. As the American Kennel Club (AKC) notes, trick training is excellent for a dog’s mental fitness and helps prevent boredom-related behaviors.
It Strengthens Your Bond Through Positive Interaction
Training is a fantastic form of two-way communication. The process of learning how to teach a dog to shake a paw is a shared, positive experience that builds trust and deepens the connection between you and your pet. They learn that focusing on you leads to fun and rewarding outcomes.
It’s a Gateway to More Advanced Skills
“Shake” is a foundational skill. Once your dog is comfortable offering their paw on cue, it’s a simple step to teach them more advanced tricks like “high five” or “wave.” It also builds a great foundation for husbandry behaviors, making them more comfortable with having their paws handled for nail trims or to wipe muddy feet.
The Foundation: Preparing to Teach a Dog to Shake a Paw
To set yourself up for a successful and frustration-free training session, a little preparation is key. This ensures your dog is in the right frame of mind to learn.
Gathering Your Essential Training Supplies
You don’t need a lot of fancy equipment, but a few key items are non-negotiable.
- High-Value Treats: This is the most critical tool. Use small, soft, and extra-delicious treats that your dog finds irresistible. Think tiny pieces of boiled chicken, cheese, or high-quality commercial training treats—not their boring daily kibble. The reward must be worth the effort.
- A Quiet Training Space: Choose a location with minimal distractions where your dog can focus entirely on you. Your living room is a great choice; a busy park is not.
The ‘Sit’ Command: A Crucial Prerequisite
Before you can effectively teach a dog to shake a paw, they need to have a rock-solid “Sit” command. Having your dog sit provides a stable base, making it physically easier for them to lift a paw without losing their balance. It also puts them in a calm, attentive state, ready to learn.
Adopting the Right Training Mindset: Keep it Short and Fun
Your attitude will directly influence your dog’s success.
- Short Sessions are Key: A dog’s, especially a young dog’s, attention span is short. Aim for several 3-5 minute sessions throughout the day. This is far more effective than one long, 20-minute session that will likely end in boredom or frustration.
- Always End on a Positive Note: Make sure the last thing you do in a session is a successful repetition of a command (even if it’s just a simple “sit”). This ensures your dog leaves the training session feeling confident and eager for the next one.
The Core Method: How to Teach a Dog to Shake a Paw in 4 Steps
This method is based on a training technique called “capturing,” where you reward a natural behavior that your dog offers on their own. It’s a simple, positive, and highly effective approach.
Step 1: Establish the “Sit” Position
First, ask your dog to “Sit.” Once they are sitting calmly and politely in front of you, give them a treat and a bit of praise. This establishes a calm and focused starting point for the training.
Step 2: Capture the Paw-Lifting Behavior
This is the heart of the process where you will teach a dog to shake a paw.
- Take a high-value treat and close your fist around it.
- Hold your closed fist down near your dog’s nose, a few inches off the ground and slightly to the side of their body.
- Your dog will naturally sniff, lick, and nuzzle your hand to get the treat. Be patient and wait. Inevitably, they will use their paw to try and get your hand open.
- The exact second their paw makes contact with your hand, say an enthusiastic marker word like “Yes!” and immediately open your hand to give them the treat.
Repeat this several times. Your dog is quickly learning a powerful lesson: putting their paw on your hand makes the magic treat appear.
Step 3: Introduce the Verbal Cue and Hand Signal
Once your dog is reliably pawing your fist as soon as you present it, it’s time to give the action a name.
- As you present your fist, say your chosen verbal cue—”Shake,” “Paw,” or “Handshake”—in a clear, cheerful voice.
- When they touch your hand with their paw, mark the moment with “Yes!” and reward them.
You are now associating the word with the action. After a few successful repetitions, you can start to change your hand signal from a closed fist to a flat, open palm, like you’re offering a real handshake.
Step 4: Fading the Lure and Rewarding the Action
The final step is to teach your dog to shake your hand even when there’s no treat inside it.
- Say your “Shake” cue and present your open, empty hand.
- By now, the association should be strong. When your dog places their paw in your hand, mark it with “Yes!” and then reward them with a treat from your other hand.
This is a critical step in how to teach a dog to shake a paw, as it clarifies that the reward is for performing the trick, not for sniffing out a treat in your hand.

Troubleshooting When You Teach a Dog to Shake a Paw
Sometimes you’ll hit a small snag. Here are the solutions to the most common problems.
What If My Dog Just Sniffs or Licks My Hand?
If your dog is reluctant to use their paw, you may be holding your hand too high or too close to their center line. Try lowering it and moving it further to the side to encourage a weight shift. If they still don’t offer a paw, you can gently tap or tickle the back of their pastern (the doggy equivalent of a wrist). This often causes an involuntary paw-lift reflex, which you can immediately mark and reward.
How to Handle an Overly Enthusiastic Paw Scratch
If your dog’s “shake” is more of a forceful, scratchy slap, you need to refine the behavior by rewarding only the best attempts. If they paw you hard, calmly say “Oops” and briefly withdraw your hand. Then try again. When they offer a softer, more gentle touch, give them a “jackpot” reward (several treats in a row) and lots of praise. They will quickly learn that a polite paw placement is far more rewarding.
Conclusion: A Handshake That Builds Your Bond
Congratulations! You now have a complete, positive, and effective plan for how to teach a dog to shake a paw. This delightful trick is a wonderful way to engage your dog’s brain, build their confidence, and create a joyful point of connection between you. By keeping your training sessions short, upbeat, and full of rewards, you are doing so much more than teaching a command—you are strengthening your friendship.
Did you use this method to teach your dog to shake? We’d love to see the results! Share your success stories and questions in the comments below.
 How to Teach a Dog to Shake a Paw: Expert Guide