


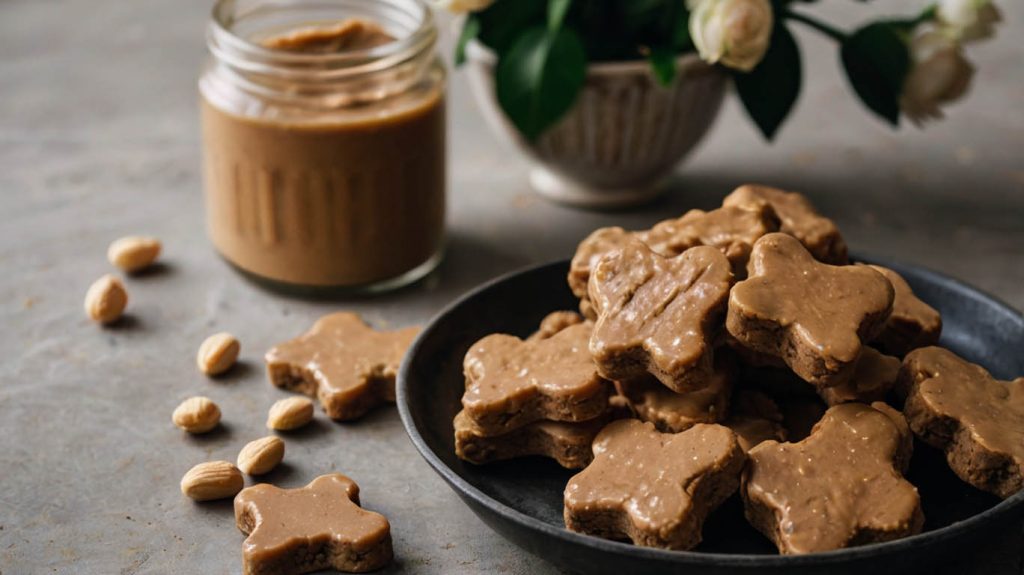
Homemade Dog Treats with Peanut Butter: An Easy & Healthy Recipe
Jenna stood in the pet store aisle, staring at a bag of dog treats with an ingredient list a mile long. She looked at the price tag, then back at the list of unpronounceable chemicals and fillers. Her beloved rescue, Cooper, deserved the best, but she felt a growing unease about what was really in his store-bought snacks. Frustrated but determined, she went home with an idea: she would make her own. This set her on a mission to find the perfect recipe for simple, wholesome, and delicious homemade dog treats with peanut butter.
Jenna’s story is one that many dedicated pet parents can relate to. You want to reward your best friend with something special, but you also want to control the ingredients and ensure you’re giving them something genuinely healthy.
Consequently, this definitive guide is here to be your go-to resource. We will not only provide a vet-reviewed, easy-to-follow recipe but also cover the critical safety information, customization options, and storage tips you need. Therefore, you can start baking the very best homemade dog treats with peanut butter for your furry family member today.
Why Bother Making Homemade Dog Treats with Peanut Butter?
In a world of endless store-bought options, you might wonder if baking for your dog is worth the effort. The answer is a resounding yes, and the benefits go far beyond just a tasty snack.
- You Control the Ingredients: This is the biggest advantage. You know exactly what is (and isn’t) going into your dog’s treats. There are no mysterious fillers, artificial preservatives, colors, or flavors. This is especially important for dogs with sensitive stomachs or allergies.
- It’s Cost-Effective: Premium, single-ingredient dog treats can be incredibly expensive. Baking a large batch of homemade dog treats with peanut butter is often far more budget-friendly.
- A Fun Bonding Experience: The process of baking for your dog can be a joyful one. The delicious smells filling your kitchen will have your pup’s tail wagging in anticipation, creating a special bonding moment.
- Perfect for Training: These treats are a high-value reward that can make your training sessions more effective and exciting for your dog.
The CRITICAL Peanut Butter Safety Warning: A Must-Read
Before we get to the recipe, we must address the most important safety issue. Not all peanut butter is safe for dogs.
A sugar substitute called Xylitol is becoming increasingly common in some brands of peanut butter, especially those labeled “low sugar” or “natural.” While perfectly safe for humans, xylitol is extremely toxic and potentially fatal to dogs, even in small amounts. It causes a rapid, severe drop in their blood sugar and can lead to liver failure.
How to Choose a Safe Peanut Butter
This is simple but non-negotiable. When you pick up a jar of peanut butter, turn it over and read the ingredient list.
- SAFE Peanut Butter: The label should list only “Peanuts” and maybe “Salt.”
- UNSAFE Peanut Butter: If you see the word “Xylitol” anywhere on the label, put it back immediately.
Always choose a natural, unsalted, or low-salt peanut butter with no added sugar or artificial sweeteners.
Our Favorite Easy Recipe for Homemade Dog Treats with Peanut Butter
This recipe is simple, requires just a few pantry staples, and is a proven winner with dogs of all sizes. It’s the perfect starting point for your baking adventure.
Ingredients You’ll Need:
- 2 ½ cups of Whole Wheat Flour (see notes below for grain-free alternatives)
- 1 cup of Natural, Unsalted, Xylitol-Free Peanut Butter
- 1 Large Egg
- 1 cup of Water
- 1 tablespoon of Honey (optional, for a touch of sweetness)
Step-by-Step Baking Instructions:
- Preheat Your Oven: Preheat your oven to 350°F (175°C) and line a baking sheet with parchment paper for easy cleanup.
- Combine Your Ingredients: In a large bowl, mix the flour, peanut butter, and egg together. The mixture will be crumbly at this stage.
- Slowly Add Water: Gradually add the water and honey (if using), mixing until the dough comes together. It should be stiff and a bit sticky. You can use your hands to knead it a few times in the bowl to form a solid ball.
- Roll Out the Dough: On a lightly floured surface, roll the dough out to about ¼-inch thickness.
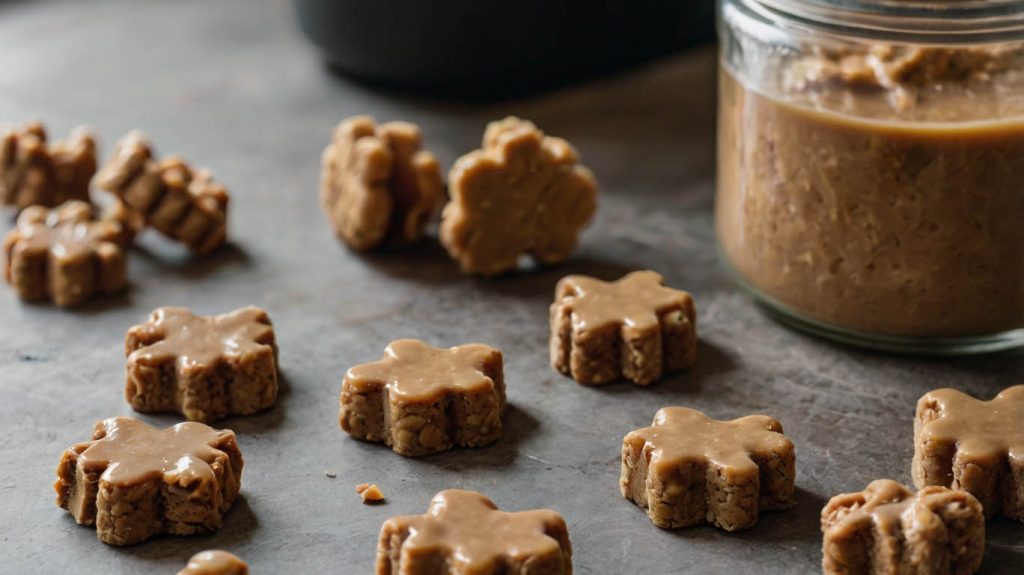
- Cut Out Your Shapes: Use your favorite cookie cutters to cut out the treats. Fun shapes like bones or hearts are always a hit! Place the cut-out treats onto your prepared baking sheet.
- Bake to Perfection: Bake for 18-20 minutes, or until the edges are golden brown. For a crunchier treat, you can turn the oven off and leave the treats inside as it cools down to dry them out further.
- Cool Completely: Let the homemade dog treats with peanut butter cool completely on a wire rack before serving one to your eager pup.
Customizing Your Homemade Dog Treats with Peanut Butter
One of the best parts of baking your own treats is that you can customize them to your dog’s preferences or dietary needs.
Flour Alternatives for Grain-Free Treats
If your dog has a sensitivity to wheat, you can easily swap out the whole wheat flour.
- Oat Flour: Simply blend old-fashioned rolled oats in a blender until they reach a fine, flour-like consistency. It’s a fantastic, fiber-rich alternative.
- Coconut Flour or Almond Flour: These are also great grain-free options, but they are more absorbent, so you may need to add a little extra water or another egg to get the dough consistency right.
Fun and Healthy Add-ins
Feel free to get creative! You can mix in about ½ cup of other dog-safe ingredients to the main recipe.
- Pumpkin Purée: 100% pure canned pumpkin is great for digestion.
- Mashed Banana: Adds natural sweetness and potassium.
- Shredded Carrots: For an extra boost of vitamins and a bit of texture.
- Finely Chopped Parsley: Can help freshen your dog’s breath.
How to Store Your Homemade Dog Treats
Since these treats contain no preservatives, proper storage is key to keeping them fresh.
- At Room Temperature: Store the cooled treats in an airtight container for up to one week.
- In the Refrigerator: For a longer shelf life, you can store them in an airtight container in the fridge for up to three weeks.
- In the Freezer: These treats freeze beautifully! Store them in a freezer-safe bag or container for up to three months. They make a great, crunchy snack straight from the freezer on a hot day.
A Case Study Resolved: How Jenna and Cooper Found Baking Bliss
Let’s return to Jenna and her dog, Cooper. After her moment of determination, she found a simple recipe very similar to this one. She carefully chose a jar of xylitol-free peanut butter. As she mixed the dough, Cooper sat in the kitchen, his nose twitching and his tail thumping on the floor.
When the first batch came out of the oven and cooled, she offered one to him. He gobbled it down with an enthusiasm she had never seen for his store-bought snacks. Jenna felt a wave of joy and relief. She had not only found a healthy, affordable solution but also a fun new way to show her love. She had mastered the art of making homemade dog treats with peanut butter.
The Final Verdict: A Healthy, Heartfelt Treat
Baking homemade dog treats with peanut butter is a simple, rewarding, and deeply loving act. It allows you to provide your dog with a delicious snack made from wholesome ingredients you can trust. By following this easy recipe and the critical safety tips, you can fill your treat jar with goodness and your dog’s belly with happiness.
What are you waiting for? Grab your apron and a jar of safe peanut butter and get baking! Let us know in the comments how your dog enjoyed their fresh-baked treats.