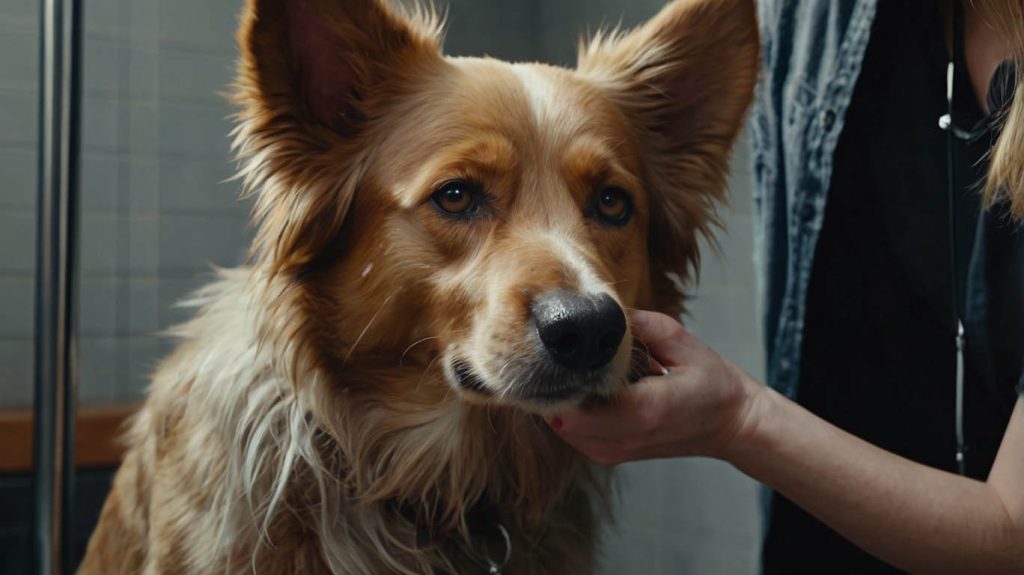
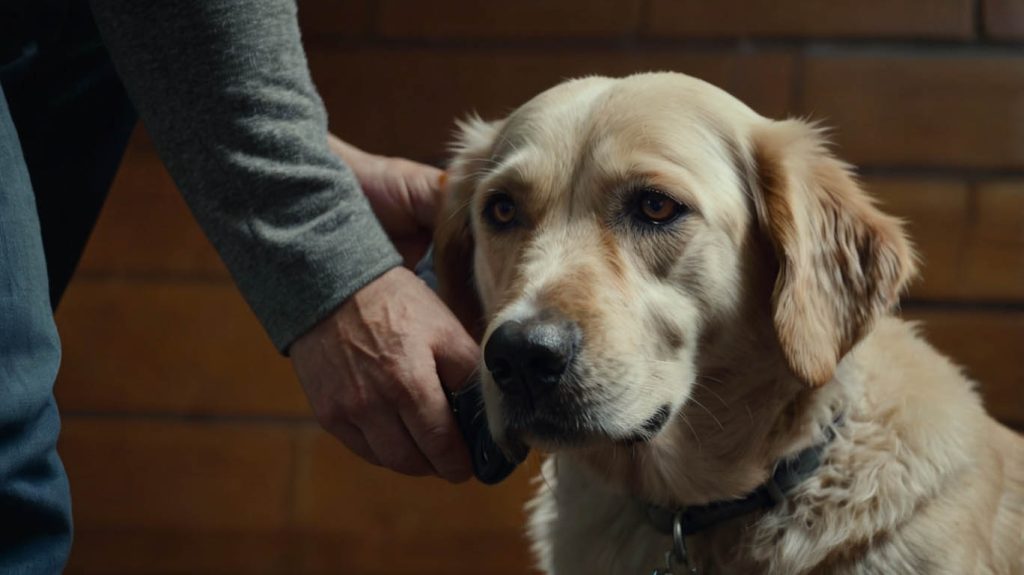
Your dog keeps shaking their head. Then comes the scratching. Soon, there’s that unpleasant smell every dog owner dreads. At this point, it’s clear: something’s going on in those floppy ears. Whether it’s wax buildup, trapped water, or the early stages of an infection, knowing how to flush a dog’s ear at home can offer much-needed relief—and potentially save a trip to the vet.
In this article, we’ll explore the safest, most effective home ear-flushing methods using natural solutions. You’ll also learn when it’s safe to flush your dog’s ears, what tools to use, and how this technique helped one anxious spaniel finally find comfort.
Why Flushing Your Dog’s Ears Matters
A dog’s ear canal is long, L-shaped, and easy to clog with dirt, wax, moisture, or even grass seeds. While regular cleaning handles surface issues, flushing goes deeper. It helps remove hidden debris and creates an inhospitable environment for bacteria or yeast.
Flushing a dog’s ear at home helps:
- Remove wax and foreign debris
- Prevent ear infections
- Soothe inflammation and irritation
- Maintain ear hygiene, especially in floppy-eared breeds
Still, knowing how to flush a dog’s ear at home the right way is essential to avoid damage or complications.

When Is It Safe to Flush a Dog’s Ear at Home?
Before grabbing a syringe or natural cleaner, assess your dog’s symptoms. Flushing is safe for minor buildup or debris but not for active infections or injuries.
Safe to Flush If:
- Your dog’s ears smell slightly musty
- There is visible dirt or wax buildup
- Your dog shakes or scratches occasionally
- There is no discharge, swelling, or bleeding
Do NOT Flush If:
- There’s pus or bloody discharge
- Your dog cries out in pain when touched
- The ear canal appears swollen or red
- Your dog has had ear surgery recently
When in doubt, consult your vet. Flushing should never be forced or done with strong pressure.
Tools You’ll Need to Flush a Dog’s Ear at Home
Before you start, gather all your supplies. Preparation reduces stress and prevents errors during the process.
| Tool | Why You Need It |
|---|---|
| Bulb syringe or ear dropper | To gently deliver the solution deep into the canal |
| Cotton balls or gauze | To clean out debris and dry the outer ear |
| Towels | For comfort and managing splashes |
| Natural ear solution | Homemade or vet-approved cleanser |
| Treats | To reward your dog for cooperation |
Never use Q-tips or harsh chemical cleaners not approved for canine use.
Natural Solutions: How to Flush a Dog’s Ear at Home Safely
Apple Cider Vinegar + Distilled Water
ACV restores pH balance and reduces bacteria.
Recipe:
Mix equal parts raw ACV and distilled water. Use for mild wax or odor problems.
Saline Solution
Saline is ideal for rinsing without causing dryness or irritation.
Recipe:
Boil 1 cup of water, let it cool, and add 1/2 tsp non-iodized salt.
Green Tea Infusion
Rich in antioxidants and gentle on sensitive ears.
Recipe:
Steep one green tea bag in 1 cup of boiling water, cool completely, and use as a rinse.

Bella’s Story: A Spaniel Saved by At-Home Flushing
Bella, a 5-year-old Cocker Spaniel, used to visit the vet monthly for ear cleanings. Her owner, Claire, noticed the wax always returned quickly. After researching how to flush a dog’s ear at home, Claire tried green tea rinses twice weekly and ensured Bella’s ears stayed dry after swimming.
Not only did the odor disappear, but Bella’s constant scratching stopped. “It’s amazing how much difference one simple habit made,” Claire shared.
Step-by-Step: How to Flush a Dog’s Ear at Home
Step 1: Prepare Your Dog
Choose a calm setting. Use treats and a soothing voice. Wrap your dog in a towel if they’re fidgety.
Step 2: Administer the Solution
Fill the dropper or bulb syringe with the ear flush solution. Gently insert it into the canal—just the tip—and squeeze in 5–10 drops or as instructed.
Step 3: Massage the Base
Massage the ear base for 30 seconds to loosen wax. A squishing sound means it’s working.
Step 4: Let Your Dog Shake
Step back and let your dog shake their head. This helps dislodge and eject deeper debris.
Step 5: Wipe Clean
Use a cotton ball to remove loosened debris from the outer canal and inner flap. Avoid going deep.
Repeat the process on the other ear if needed.
How Often Should You Flush a Dog’s Ear at Home?
Routine depends on breed, environment, and health history:
| Dog Type or Lifestyle | Flushing Frequency |
|---|---|
| Swimmers or beach lovers | 1–2 times/week |
| Floppy-eared breeds (e.g., Beagles) | Weekly |
| Short-coated, indoor dogs | Every 2–3 weeks |
Flushing too often can irritate the ear canal, so tailor frequency to your dog’s needs.
Common Mistakes to Avoid When Flushing Dog Ears
- Using hydrogen peroxide: Too harsh and drying
- Overusing vinegar: Can sting if over-applied or if ears are inflamed
- Applying too much pressure: Can damage the eardrum
- Flushing infected ears: This may worsen symptoms
- Skipping the drying step: Trapped moisture can lead to yeast overgrowth
Always watch your dog’s reaction and stop if they show signs of distress.
Aftercare and Prevention Tips
Flushing isn’t a one-time fix. Support healthy ears between cleanings with these steps:
Dry After Baths and Swims
Use a clean, dry towel to gently pat inside the ears.
Trim Hair Around the Ears
Keeps airflow steady and reduces moisture buildup.
Use Probiotics
Supports the immune system and helps reduce yeast formation.
Regular Grooming
Ear hair should be kept trimmed (not plucked unless advised by a vet).
FAQs About How to Flush a Dog’s Ear at Home
Is flushing painful for dogs?
Not if done gently and when ears are not infected. Always monitor their comfort level.
Can I use saline from the pharmacy?
Yes, as long as it’s sterile and contains no added ingredients.
What’s the best time to flush ears?
After a bath or swim, or if your dog shows signs of mild buildup.
Can I flush a puppy’s ears?
Yes, but use only very mild solutions like green tea or saline, and consult your vet first.
What if I see pus or swelling?
Don’t flush—this requires immediate veterinary care.
Conclusion: Gentle Flushing = Happy, Healthy Ears
Learning how to flush a dog’s ear at home gives you the power to keep your pet comfortable, clean, and free from infections. With the right natural ingredients, patience, and care, you can maintain healthy ears without stress—or vet bills.
Make ear flushing a part of your regular grooming routine and enjoy a healthier, happier pup with every shake of those ears.


